Pet owners understand the constant struggle of dealing with fur-covered surfaces. Luckily, the Bissell Pet Hair Eraser Vacuum has been a game-changer, making pet hair cleanup much more manageable. However, like all appliances, your trusty vacuum might occasionally need a reset to maintain its peak performance.
In this guide, I’ll walk you through the process step-by-step, drawing from my own experiences as a seasoned pet owner and vacuum enthusiast.
| Key Takeaways |
|---|
| Understand the Bissell Pet Hair Eraser Vacuum’s capabilities |
| Recognize signs indicating your vacuum needs a reset |
| Gather the necessary tools before starting the reset |
| Follow a step-by-step guide for a successful reset |
| Troubleshoot common challenges for optimal performance |
| Maintain your vacuum regularly for prolonged lifespan |
| Use recommended pet hair removal products effectively |
| Replace vacuum parts at appropriate intervals |
| Learn from personal experiences and failures |
| Decode error codes and indicators for efficient troubleshooting |
| Adopt a tailored cleaning schedule for different areas |
| Practice eco-friendly vacuuming methods |
Understanding the Bissell Pet Hair Eraser Vacuum
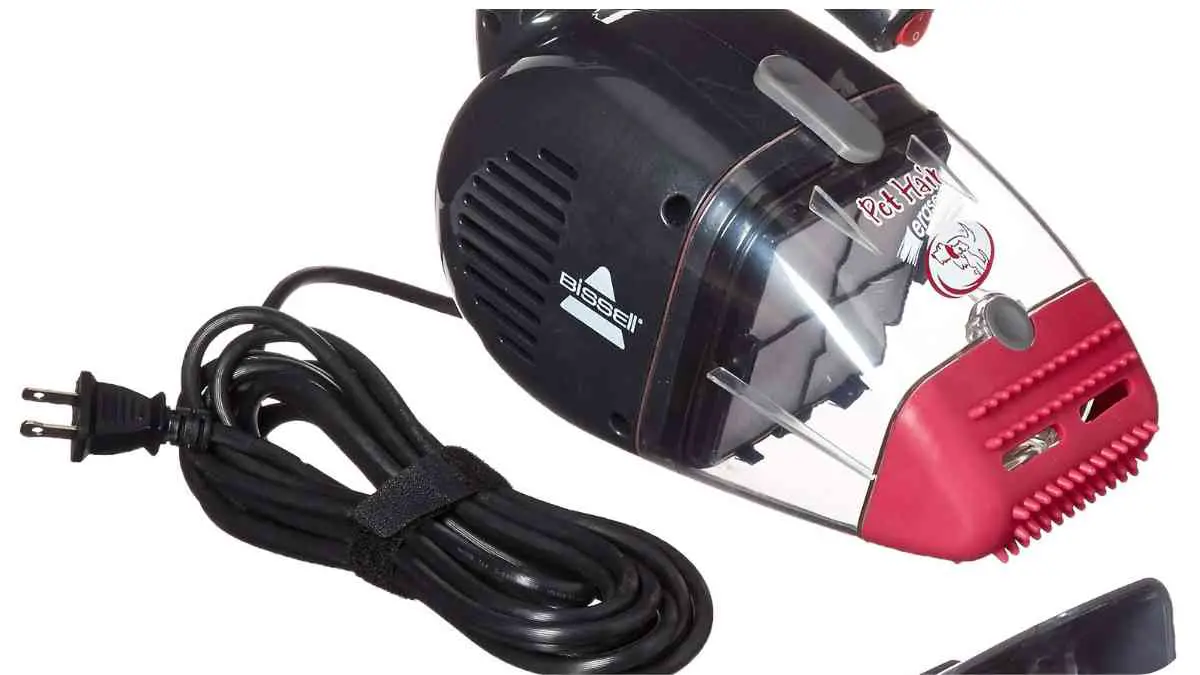
Before diving into the reset process, let’s take a moment to appreciate the Bissell Pet Hair Eraser Vacuum’s prowess. This vacuum, designed with pet owners in mind, boasts powerful suction and specialized attachments that effortlessly lift pet hair from carpets, upholstery, and various surfaces. Its innovative design, blending form and function, has earned it a prime spot in many pet-friendly households.
Managing your cat’s diet is essential for their health. Learn how to effectively use an automatic cat feeder to control portion sizes and set feeding schedules.
Signs Your Vacuum Needs a Reset

Even a top-tier vacuum like the Pet Hair Eraser can sometimes display signs of fatigue. If you notice reduced suction power, unexplained noises, or the vacuum shutting off unexpectedly, it might be time for a reset. A reset clears any electronic hiccups and rejuvenates your vacuum’s performance.
Preparing for the Reset Process
Before embarking on the reset journey, ensure you’re equipped with the necessary tools. Here’s what you’ll need:
| Tools for Reset |
| Screwdriver |
| Soft cloth |
| Timer or stopwatch |
Having these tools at the ready ensures a smooth reset process without any unnecessary hiccups.
Step-by-Step Guide to Resetting Your Bissell Pet Hair Eraser Vacuum
- Power Off and Unplug: Ensure the vacuum is turned off and unplugged from the power source before you begin any troubleshooting or maintenance.
- Cooling Period: Let your vacuum cool down for at least 30 minutes. This prevents any potential overheating during the reset process.
- Check the Manual: Different Bissell models might have slightly varied reset procedures. Refer to your vacuum’s manual for model-specific instructions.
- Press and Hold: In most cases, you’ll need to press and hold the power button for 10-15 seconds. This action resets the internal electronics.
- Release and Test: After holding the button, release it and wait for a few moments. Plug in the vacuum, power it on, and test its functionality.
Table: Required Tools for the Reset
With these steps, you’ll likely experience a seamless reset process that revitalizes your vacuum’s performance.
Worried about your pet tracker? Keep your pet safe by troubleshooting Whistle Go not charging issues and ensuring your pet’s location stays accessible
Common Challenges You Might Encounter
During my years of using the Bissell Pet Hair Eraser Vacuum, I’ve encountered a few challenges that you might also face. Here are some troubleshooting tips to overcome these hurdles:
| Troubleshooting Tips |
| Issue |
| Vacuum doesn’t turn on |
| Weak suction |
| Brush roll issues |
| Overheating |
| Strange noises |
Remember, these solutions are based on practical experience and can significantly enhance your vacuum’s longevity and performance.
Maintaining Your Vacuum for Longevity
Regular maintenance is key to extending your Bissell Pet Hair Eraser Vacuum’s lifespan. Empty the dustbin after each use, clean the filters regularly, and inspect the brush roll for tangles. This simple routine upkeep ensures that your vacuum operates at its best.
Expert Advice on Dealing with Stubborn Pet Hair
As someone who’s dealt with my fair share of stubborn pet hair, I can attest that having the right tools makes a world of difference. Here are some recommended pet hair removal products:
| Recommended Pet Hair Removal Products |
| Product |
| Pet Hair Attachments |
| Lint Rollers |
| Rubber Broom |
| Fabric Softener |
These products, combined with the Pet Hair Eraser Vacuum, create a dynamic duo for combating persistent pet hair.
Stay connected with your furry friend. Explore tips and solutions for troubleshooting Furbo Dog Camera setup to ensure seamless interactions and peace of mind.
Extending the Lifespan of Your Vacuum’s Components
To ensure your vacuum continues to perform optimally, it’s essential to replace certain parts at appropriate intervals. Here’s a guide to when you should consider replacements:
| Replacement Intervals for Vacuum Parts |
| Part |
| Filters |
| Brush Roll |
| Dustbin |
| Belts |
By following these guidelines, you’ll maintain a vacuum that’s as good as new, even after years of use.
Personal Experiences: Learning from Vacuum Failures
In my journey as a pet owner and cleaning enthusiast, I’ve faced moments of frustration when my vacuum didn’t perform as expected. One time, I neglected to clean the filters for several months, leading to weakened suction. Learning from these failures has taught me the value of consistent maintenance and timely troubleshooting.
Understanding Error Codes and Indicators
Modern vacuums often come equipped with error codes and indicators to diagnose issues. Here’s a handy reference guide to some common error codes you might encounter:
| Error Code Reference Guide |
| Error Code |
| E1 |
| E2 |
| E3 |
| E4 |
If you encounter any of these error codes, consult your vacuum’s manual for specific instructions.
Create a safe space for your pet. Discover how to properly adjust your PetSafe invisible fence using our comprehensive step-by-step guide.
Practical Tips for Optimal Vacuum Performance
Maintaining a cleaning schedule tailored to different areas of your home can significantly impact your vacuum’s efficiency. Here’s a suggested cleaning schedule:
| Cleaning Schedule for Different Areas |
| Area |
| High-Traffic Areas |
| Bedrooms |
| Upholstery |
| Curtains |
By customizing your cleaning routine, you’ll tackle pet hair and dirt effectively, maintaining a clean and cozy environment.
The Eco-Friendly Vacuuming Approach
In the pursuit of a clean home, it’s essential to be mindful of the environment. When emptying your vacuum’s dustbin, consider composting the collected debris if feasible. Additionally, explore reusable cloth filters and sustainable cleaning practices to minimize your ecological footprint.
Conclusion
Your Bissell Pet Hair Eraser Vacuum is more than just a cleaning tool; it’s your partner in battling pet hair and maintaining a comfortable living space. By understanding the reset process, troubleshooting challenges, and adopting proactive maintenance, you’ll ensure your vacuum remains a reliable asset for years to come. Remember, a little care and attention go a long way in preserving your vacuum’s performance and extending its lifespan.
From my own experiences, I’ve learned that a well-maintained vacuum not only keeps your home clean but also brings peace of mind. So, embrace these tips, put them into action, and relish the joy of a fur-free home, courtesy of your trusty Bissell Pet Hair Eraser Vacuum.
Rain or shine, your pet’s collar matters. Explore the importance of waterproof features in PetSafe collars and their durability for maintaining your pet’s safety and comfort
Further Reading
For additional resources and information on maintaining and troubleshooting your Bissell Pet Hair Eraser Vacuum, consider checking out the following links:
- Bissell Support – Vacuum Troubleshooting: Find answers to common questions and solutions for various vacuum-related issues.
- Short Description: Bissell’s official support page offers a comprehensive list of troubleshooting solutions to address common problems with your vacuum.
- Bissell Support – Product Manuals: Access product manuals and guides for your vacuum model, ensuring you have accurate and detailed instructions.
- Short Description: This resource provides access to user manuals, helping you understand your vacuum’s features and usage better.
- Bissell Pet Hair Eraser Manual (PDF): Download the official manual for the Bissell Pet Hair Eraser Vacuum model 1650A.
- Short Description: This PDF manual offers in-depth information about your vacuum’s functions, maintenance, and troubleshooting procedures.
FAQs
How often should I reset my vacuum?
Resetting your Bissell Pet Hair Eraser Vacuum is typically necessary only when you encounter performance issues. If your vacuum is working fine, there’s no need to reset it regularly.
Can I use a generic screwdriver for the reset process?
It’s recommended to use the specific screwdriver mentioned in your vacuum’s manual to avoid any potential damage. Using the correct tools ensures a safe and effective reset.
My vacuum is still under warranty. Should I attempt a reset?
Before attempting any DIY fixes or resets, review your warranty terms. If your vacuum is still covered, it’s advisable to contact Bissell’s customer support to prevent voiding the warranty.
What’s the most common cause of weak suction in these vacuums?
Weak suction is often due to clogs or debris in the filters, hose, or brush roll. Regularly cleaning and maintaining these components should help maintain strong suction.
How do I dispose of the debris collected in the vacuum?
Consider composting the collected debris from the vacuum’s dustbin, if feasible. Embracing sustainable disposal practices helps minimize your environmental impact.

I’m Dr. Hellen James, a professional veterinarian with a deep interest in the ways that litter size affects the health of animals. I’ve spent years studying this subject and performing research on reproduction in many different kinds of creatures.
